这是本人第一个springboot项目,准备写 一个国际知名项目(helloworld),在我们的浏览器中输出helloworld
第一步:创建maven工程
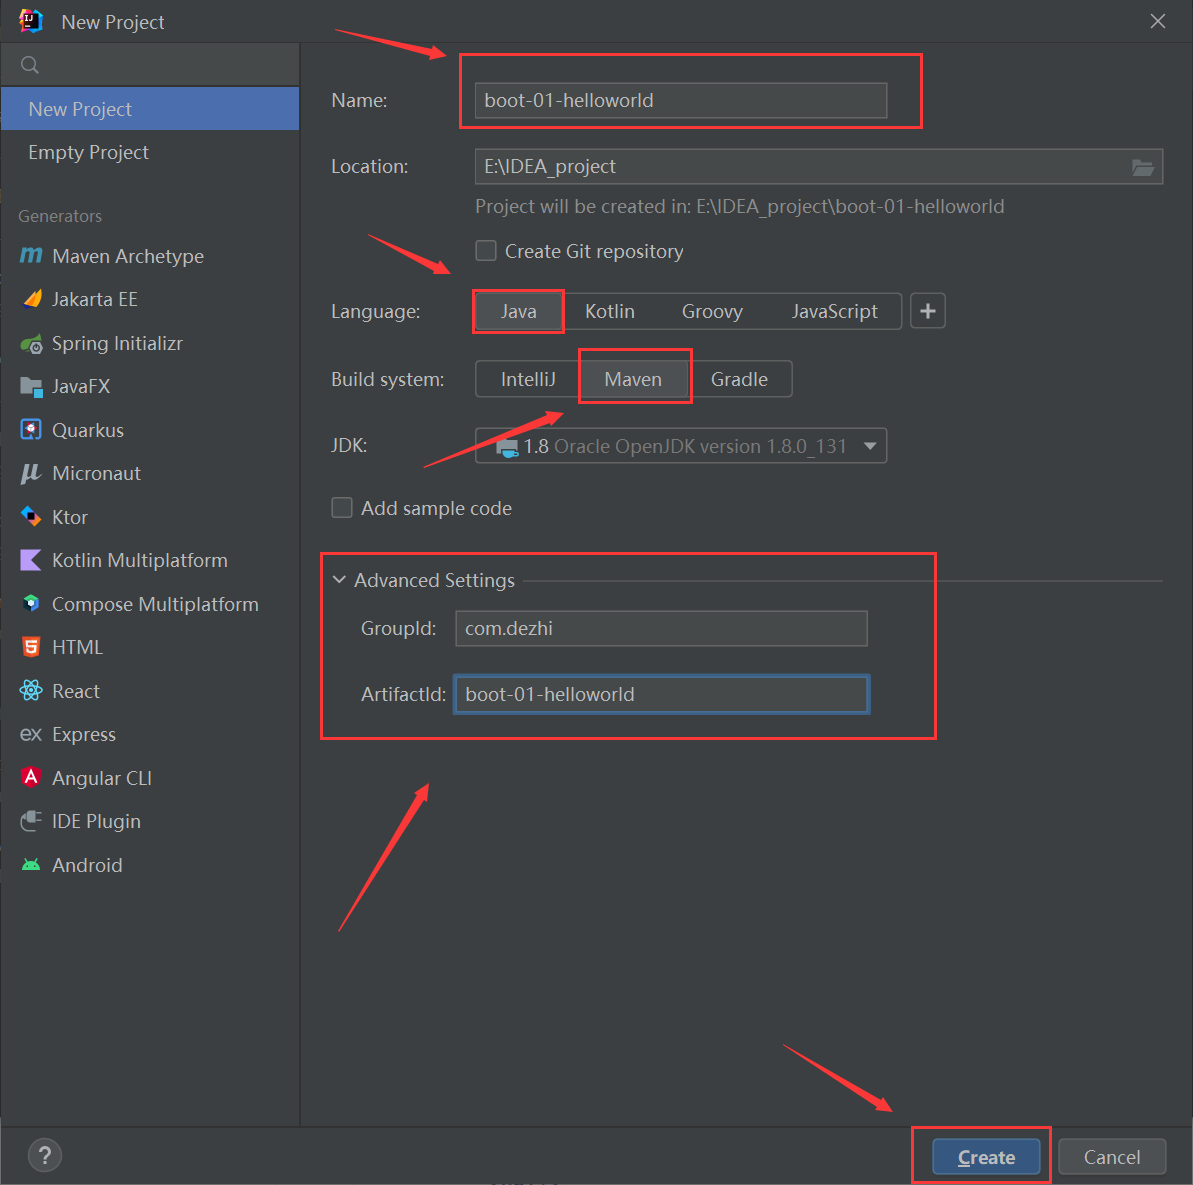
项目创建结果如下
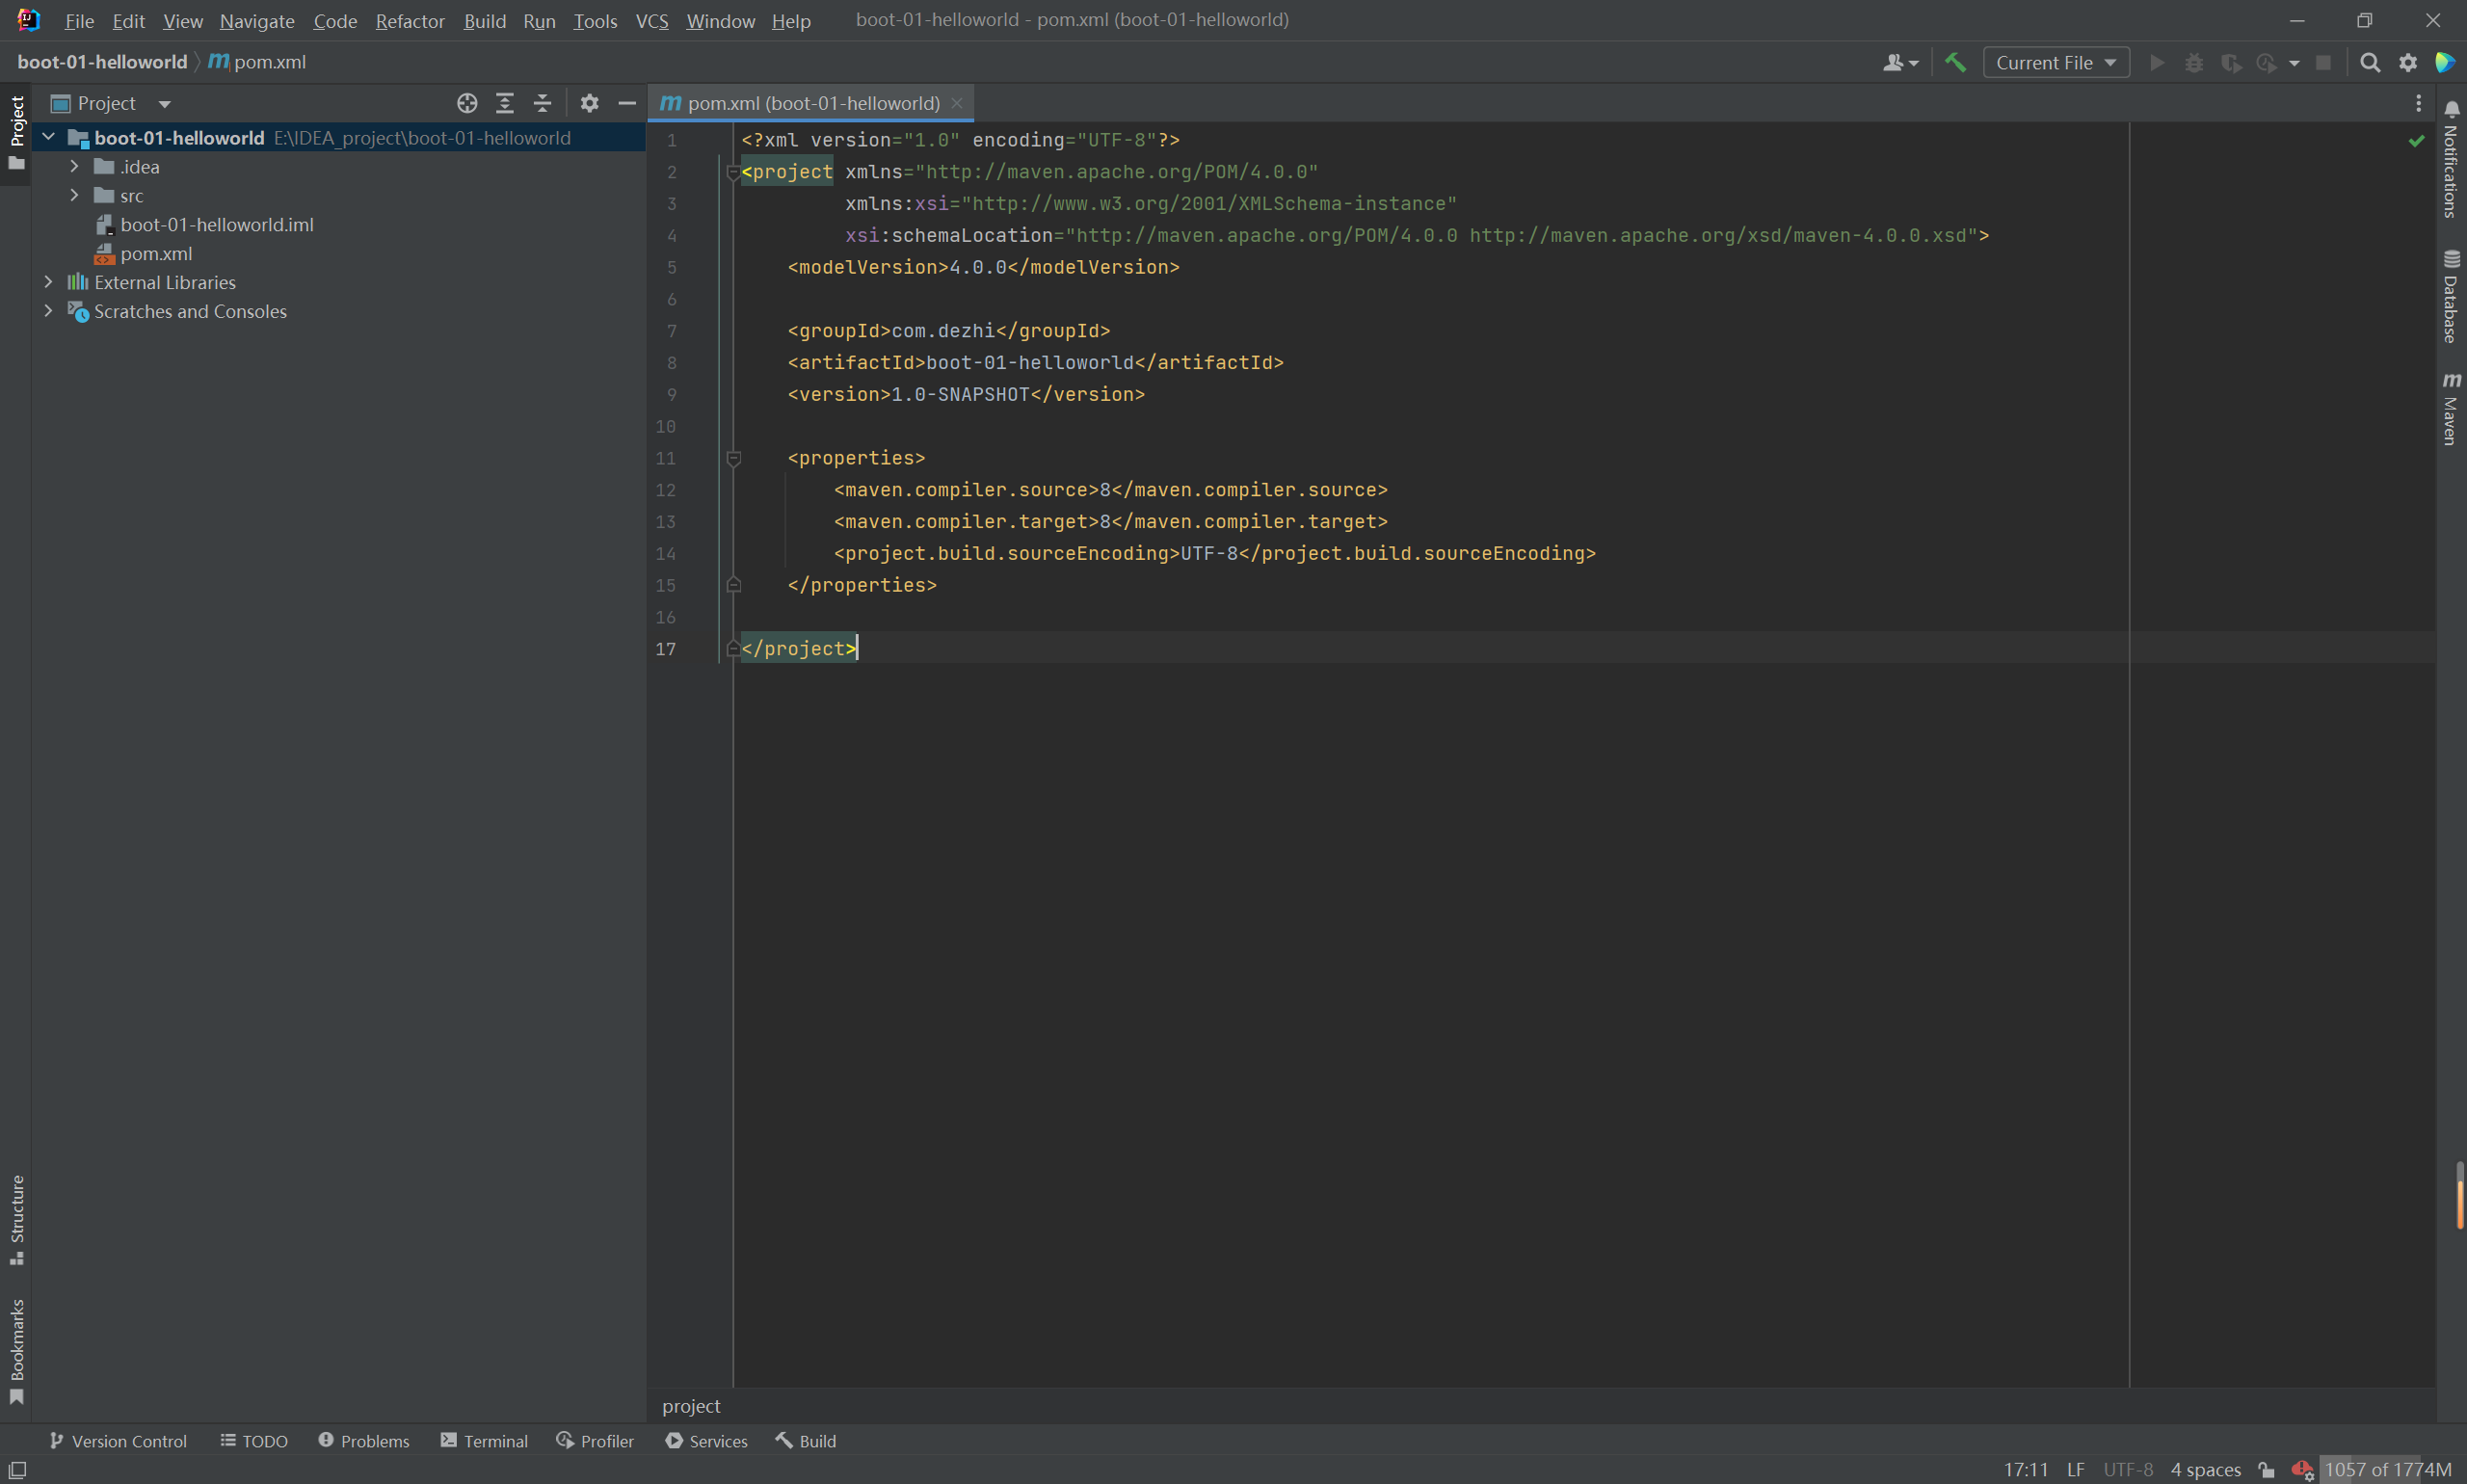
第二步:引入依赖
在pom.xml中添加以下依赖
1
2
3
4
5
6
7
8
9
10
11
12
| <parent>
<groupId>org.springframework.boot</groupId>
<artifactId>spring-boot-starter-parent</artifactId>
<version>2.3.4.RELEASE</version>
</parent>
<dependencies>
<dependency>
<groupId>org.springframework.boot</groupId>
<artifactId>spring-boot-starter-web</artifactId>
</dependency>
</dependencies>
|
第三步:创建启动程序
创建一个MainApplication类,主要用来启动springboot
类所在的文件结构如下
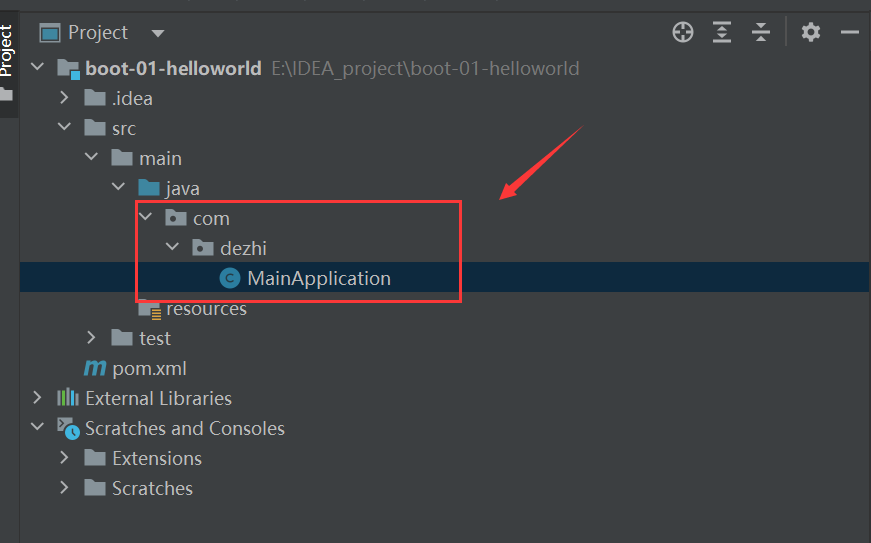
在MainApplication添加以下代码
1
2
3
4
5
6
7
8
9
10
11
12
13
14
15
16
17
18
| package com.dezhi;
import org.springframework.boot.SpringApplication;
import org.springframework.boot.autoconfigure.SpringBootApplication;
@SpringBootApplication
public class MainApplication {
public static void main(String[] args) {
SpringApplication.run(MainApplication.class, args);
}
}
|
第三步:创建HelloWorldController类
HelloWorldController类创建位置如下
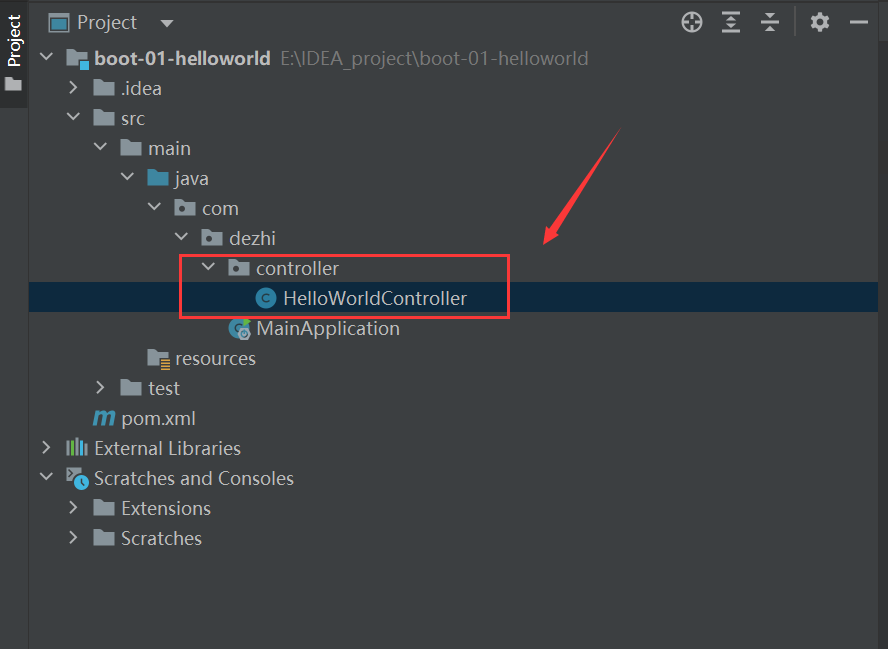
在HelloWorldController类中添加如下代码
1
2
3
4
5
6
7
8
9
10
11
12
13
14
15
| package com.dezhi.controller;
import org.springframework.stereotype.Controller;
import org.springframework.stereotype.Repository;
import org.springframework.web.bind.annotation.RequestMapping;
import org.springframework.web.bind.annotation.RestController;
@RestController
public class HelloWorldController {
@RequestMapping("/hello,world")
public String handle01() {
return "Hello,World!";
}
}
|
第四步:启动springboot
运行MainApplication的main方法,就可以启动我们的springboot
启动时我们可以看到控制台有如下输出
1
2
3
4
5
6
7
8
9
10
11
12
13
14
15
16
17
18
19
20
21
22
| . ____ _ __ _ _
/\\ / ___'_ __ _ _(_)_ __ __ _ \ \ \ \
( ( )\___ | '_ | '_| | '_ \/ _` | \ \ \ \
\\/ ___)| |_)| | | | | || (_| | ) ) ) )
' |____| .__|_| |_|_| |_\__, | / / / /
=========|_|==============|___/=/_/_/_/
:: Spring Boot :: (v2.3.4.RELEASE)
2022-08-14 10:48:55.451 INFO 23916 --- [ main] com.dezhi.MainApplication : Starting MainApplication on xiaoxinpro16 with PID 23916 (E:\IDEA_project\boot-01-helloworld\target\classes started by liaodezhi in E:\IDEA_project\boot-01-helloworld)
2022-08-14 10:48:55.453 INFO 23916 --- [ main] com.dezhi.MainApplication : No active profile set, falling back to default profiles: default
2022-08-14 10:48:55.953 INFO 23916 --- [ main] o.s.b.w.embedded.tomcat.TomcatWebServer : Tomcat initialized with port(s): 8080 (http)
2022-08-14 10:48:55.961 INFO 23916 --- [ main] o.apache.catalina.core.StandardService : Starting service [Tomcat]
2022-08-14 10:48:55.961 INFO 23916 --- [ main] org.apache.catalina.core.StandardEngine : Starting Servlet engine: [Apache Tomcat/9.0.38]
2022-08-14 10:48:56.028 INFO 23916 --- [ main] o.a.c.c.C.[Tomcat].[localhost].[/] : Initializing Spring embedded WebApplicationContext
2022-08-14 10:48:56.028 INFO 23916 --- [ main] w.s.c.ServletWebServerApplicationContext : Root WebApplicationContext: initialization completed in 548 ms
2022-08-14 10:48:56.120 INFO 23916 --- [ main] o.s.s.concurrent.ThreadPoolTaskExecutor : Initializing ExecutorService 'applicationTaskExecutor'
2022-08-14 10:48:56.230 INFO 23916 --- [ main] o.s.b.w.embedded.tomcat.TomcatWebServer : Tomcat started on port(s): 8080 (http) with context path ''
2022-08-14 10:48:56.237 INFO 23916 --- [ main] com.dezhi.MainApplication : Started MainApplication in 1.005 seconds (JVM running for 1.655)
2022-08-14 10:49:44.551 INFO 23916 --- [nio-8080-exec-1] o.a.c.c.C.[Tomcat].[localhost].[/] : Initializing Spring DispatcherServlet 'dispatcherServlet'
2022-08-14 10:49:44.552 INFO 23916 --- [nio-8080-exec-1] o.s.web.servlet.DispatcherServlet : Initializing Servlet 'dispatcherServlet'
2022-08-14 10:49:44.554 INFO 23916 --- [nio-8080-exec-1] o.s.web.servlet.DispatcherServlet : Completed initialization in 2 ms
|
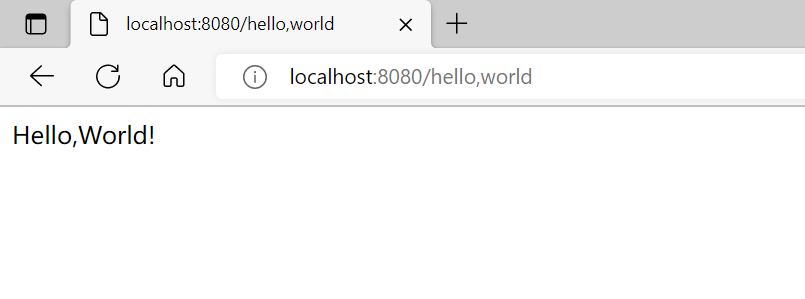
第五步:访问目标网址
可以看到访问目标网址的时候,页面上显示了我们的Hello,World
附录
application.properties配置文件
springboot项目只需要一个配置文件,所有的项目配置都可以写在这个配置文件中,简化开发
例如:改变tomcat的端口号为8888
只需要在resources下创建application.properties配置文件

然后在配置文件中写入以下代码
接着启动项目,访问8888端口号的目标网址,也可以访问我们的目标资源

更多相关配置信息,参考官方文档
https://docs.spring.io/spring-boot/docs/current/reference/html/application-properties.html#appendix.application-properties
将项目打包成jar包
在springboot中部署web项目时,可以不用将项目打包方式设置为war包,启动springboot即可访问目标资源
springboot也可以将项目整体打包成jar包,直接运行于主机上
在pom.xml中配置打包插件
1
2
3
4
5
6
7
8
| <build>
<plugins>
<plugin>
<groupId>org.springframework.boot</groupId>
<artifactId>spring-boot-maven-plugin</artifactId>
</plugin>
</plugins>
</build>
|
使用maven进行打包,先点击Lifecycle的clean,再点击package进行打包
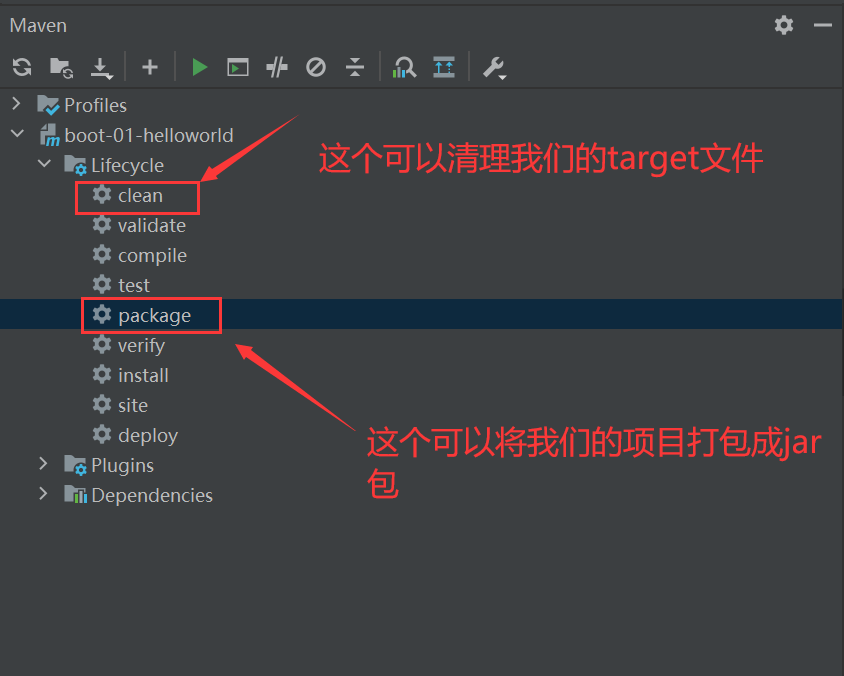
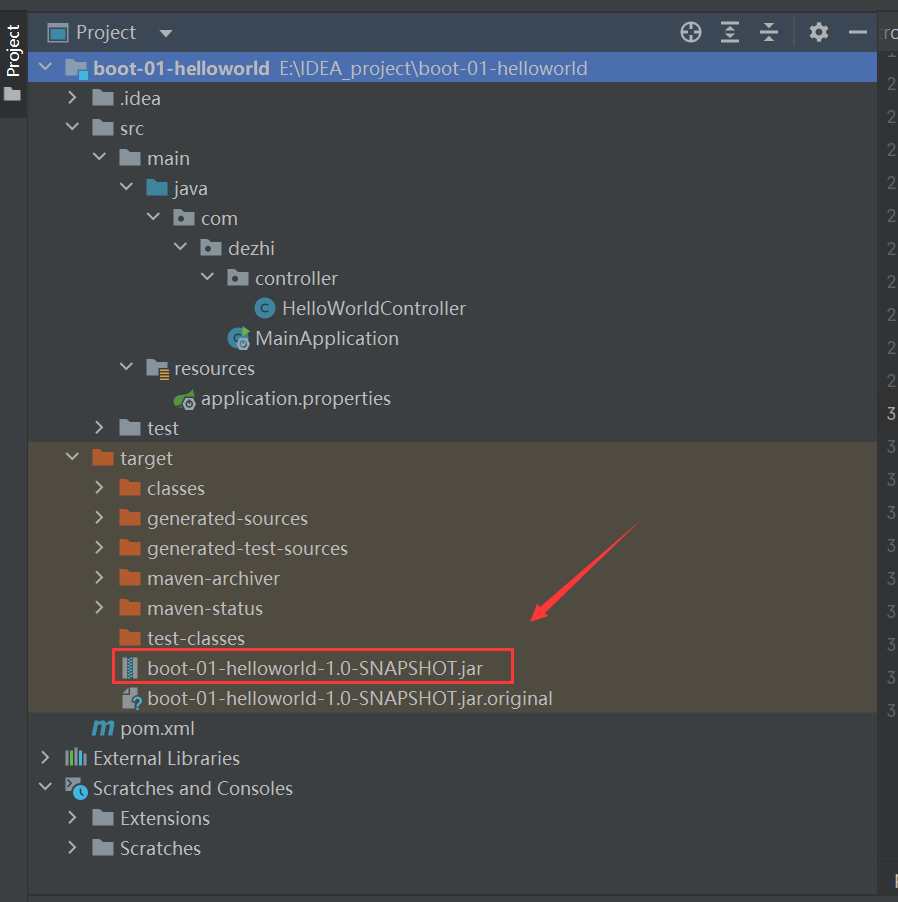
生成的对应target文件夹中就有我们的项目jar包
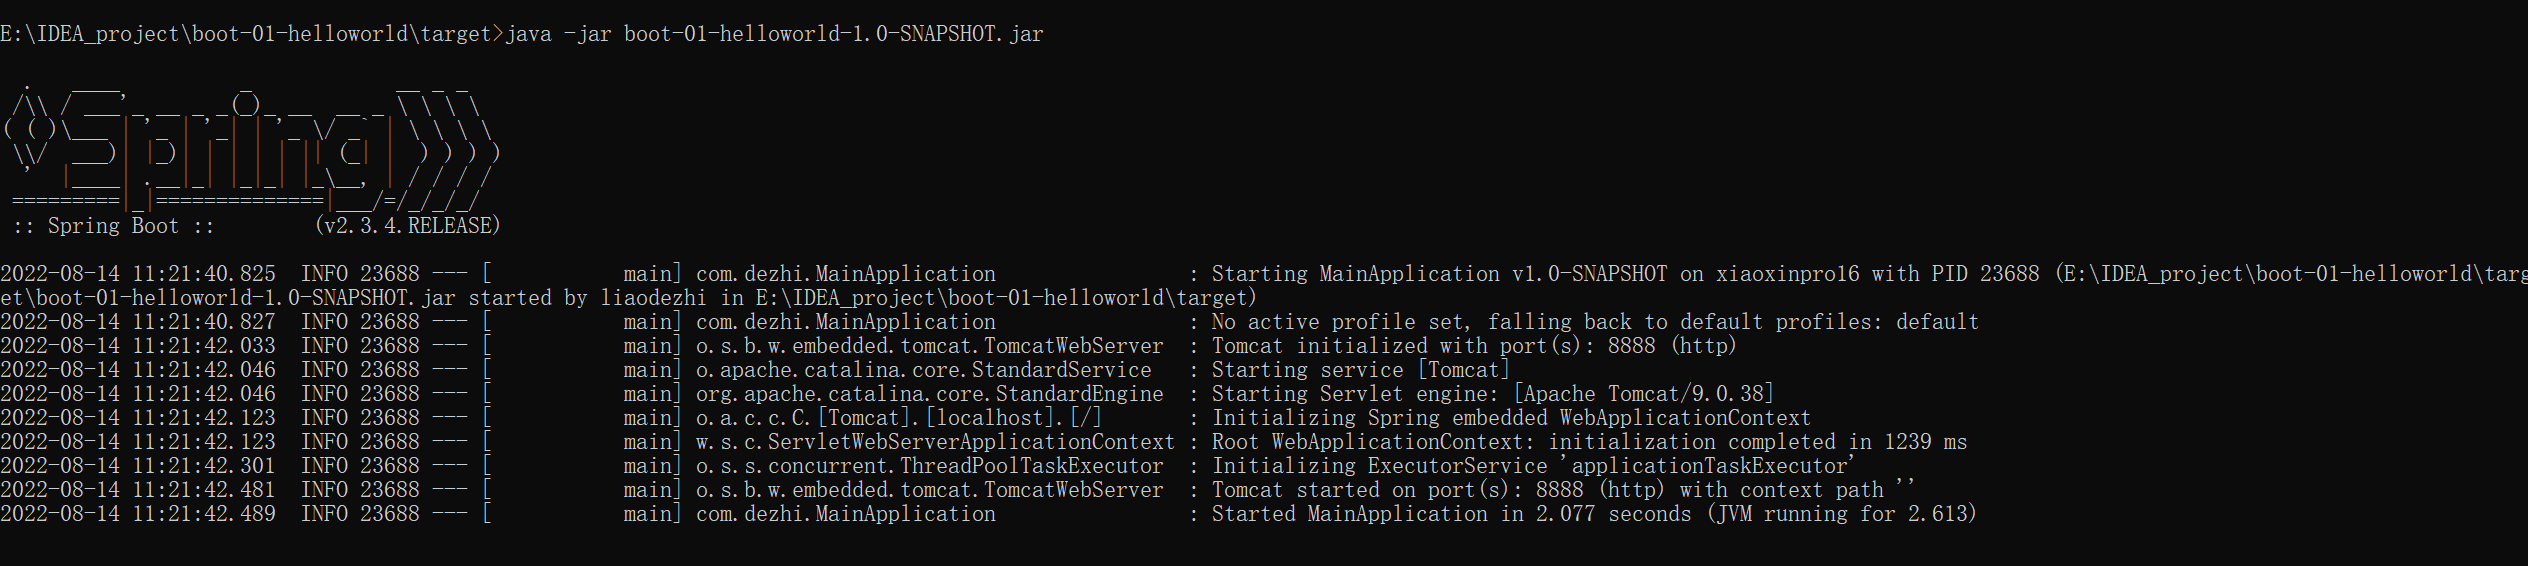
在cmd使用命令运行jar包
1
| java -jar boot-01-helloworld-1.0-SNAPSHOT.jar
|
可以在cmd窗口看到以下输出
再次访问目标网址,可以看到目标资源正常访问